For autistic teen Addie (Lola Blue), every day is a challenge as she juggles school and friends with the added complexities of being neurodivergent. But when she discovers a centuries-old mystery within her town, Addie finds her voice and lets her light shine as she stands up for those who were persecuted for being different like her. Based on the best-selling novel by Elle McNicoll.
Author: Kimberly Davenport
World Central Kitchen is dedicated to providing meals for Israeli and Palestinian families who have been forced to leave their homes. Here’s how you can contribute and make a difference.

World Central Kitchen, the nonprofit established by José Andrés in 2010, has consistently been a dependable source of aid for those affected by humanitarian crises. This charitable organization collaborates with local communities to establish kitchens that offer complimentary meals to individuals at risk of going without food. This mission has led the nonprofit to places like Ukraine and Haiti, as well as various cities across the United States, particularly during the peak of the COVID-19 pandemic.

World Central Kitchen has swiftly taken action to assist Palestinian and Israeli families who have been displaced due to the recent escalation of conflict between Israel and Hamas. They have established kitchens in both Gaza and Israel to provide essential food and relief. The organization recently shared updates and photos from these locations, showing their efforts to serve meals like rice and meat, as well as dishes featuring potatoes, green beans, and chicken.
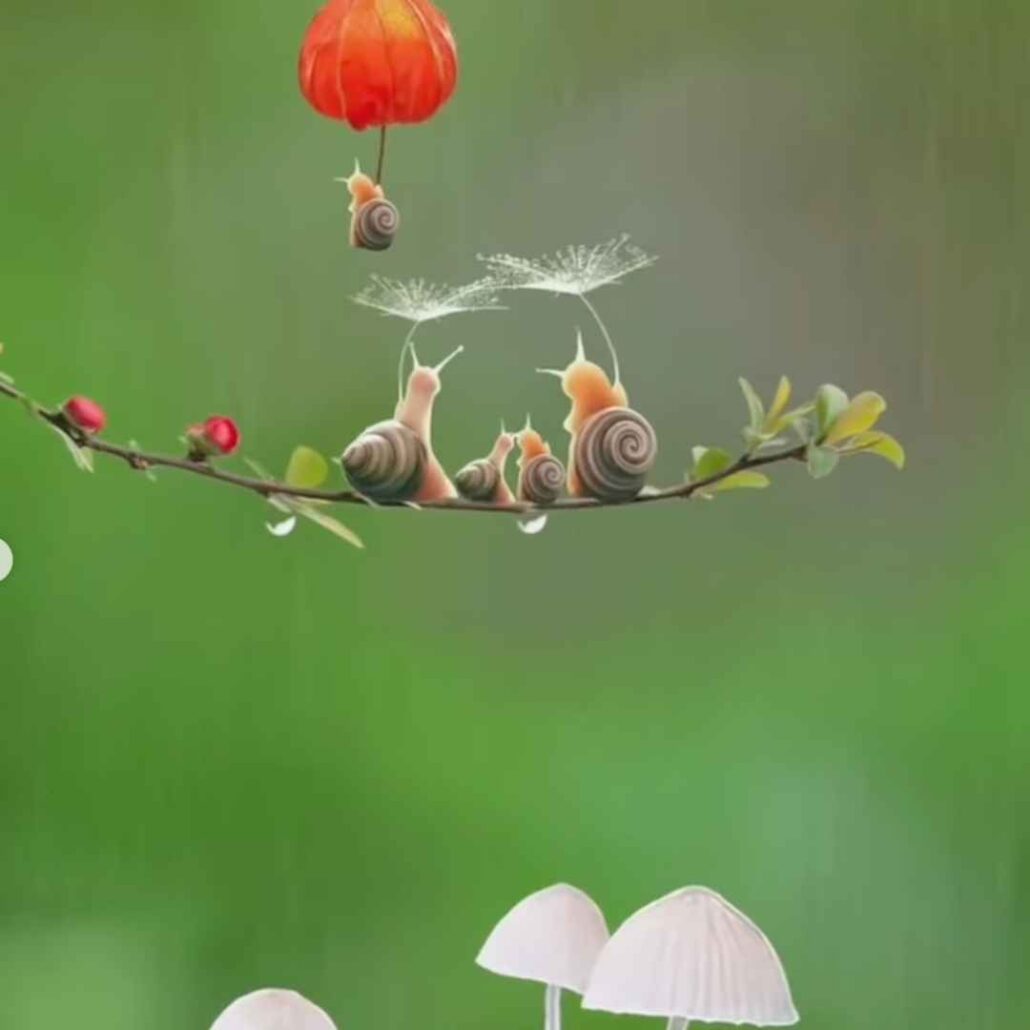
Pretty Bird, Pretty Flowers, Pretty Picture

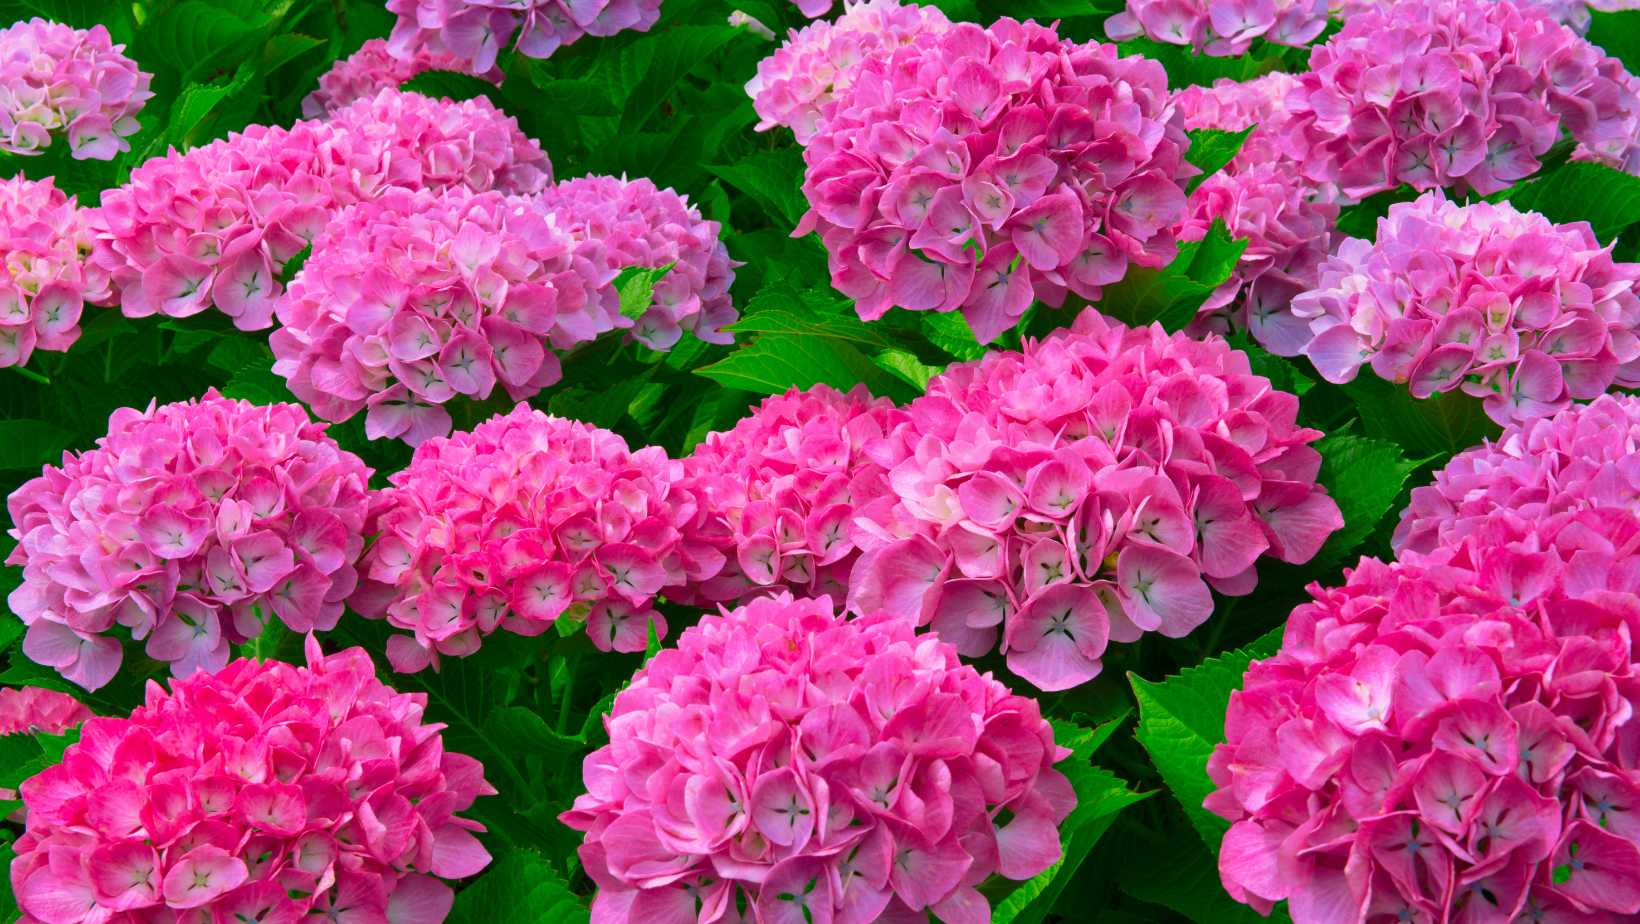
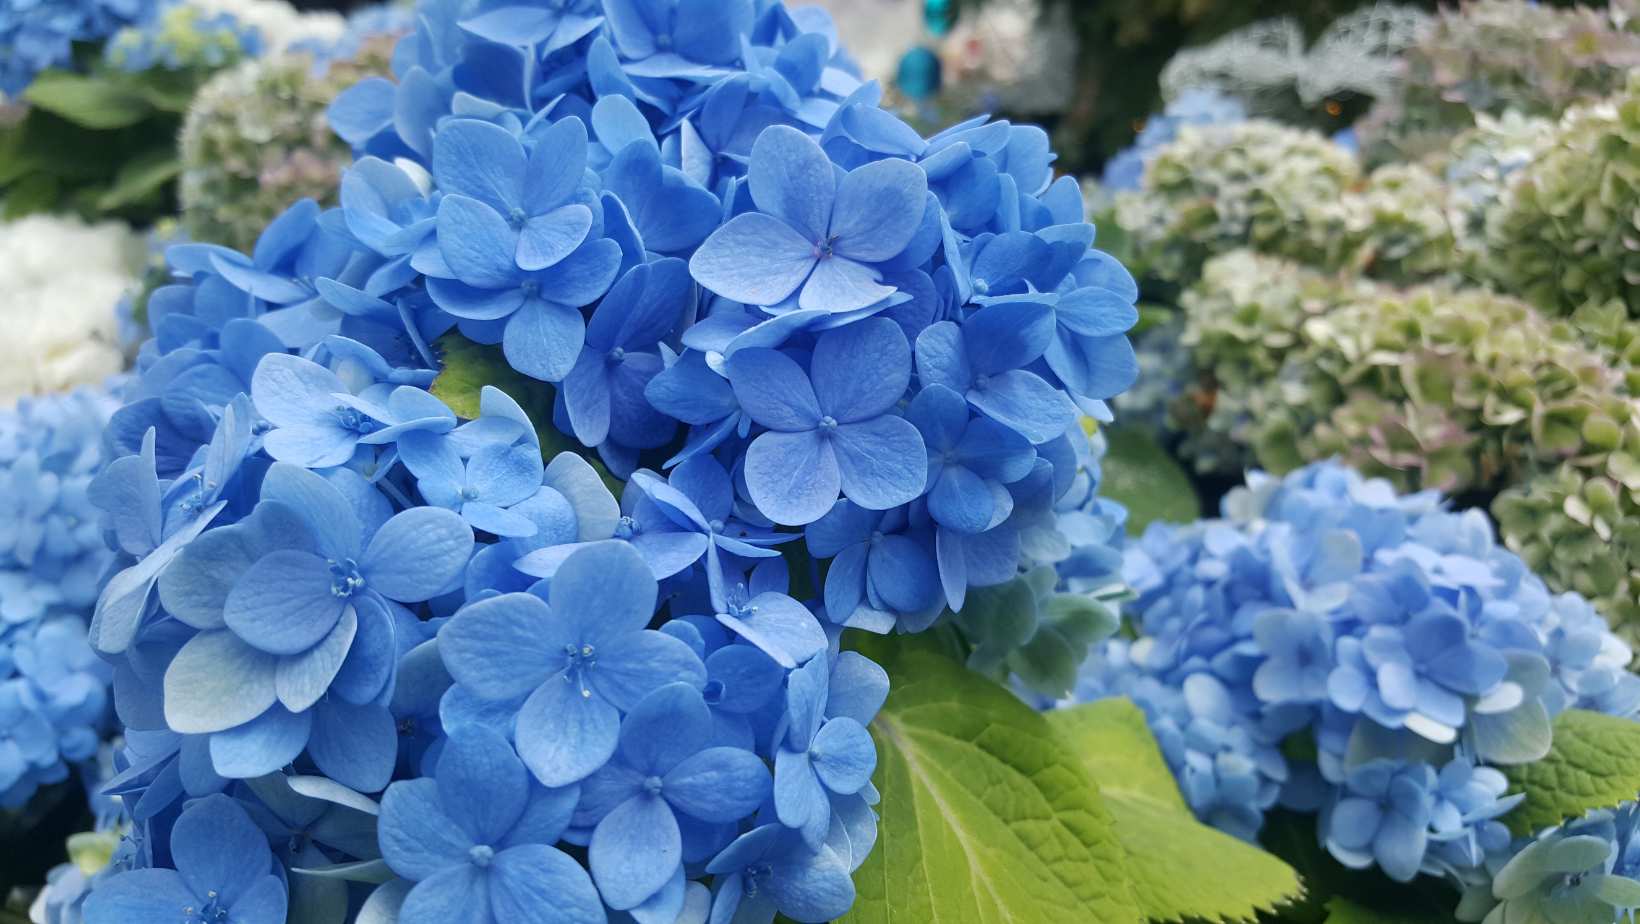
When to Prune Hydrangeas?
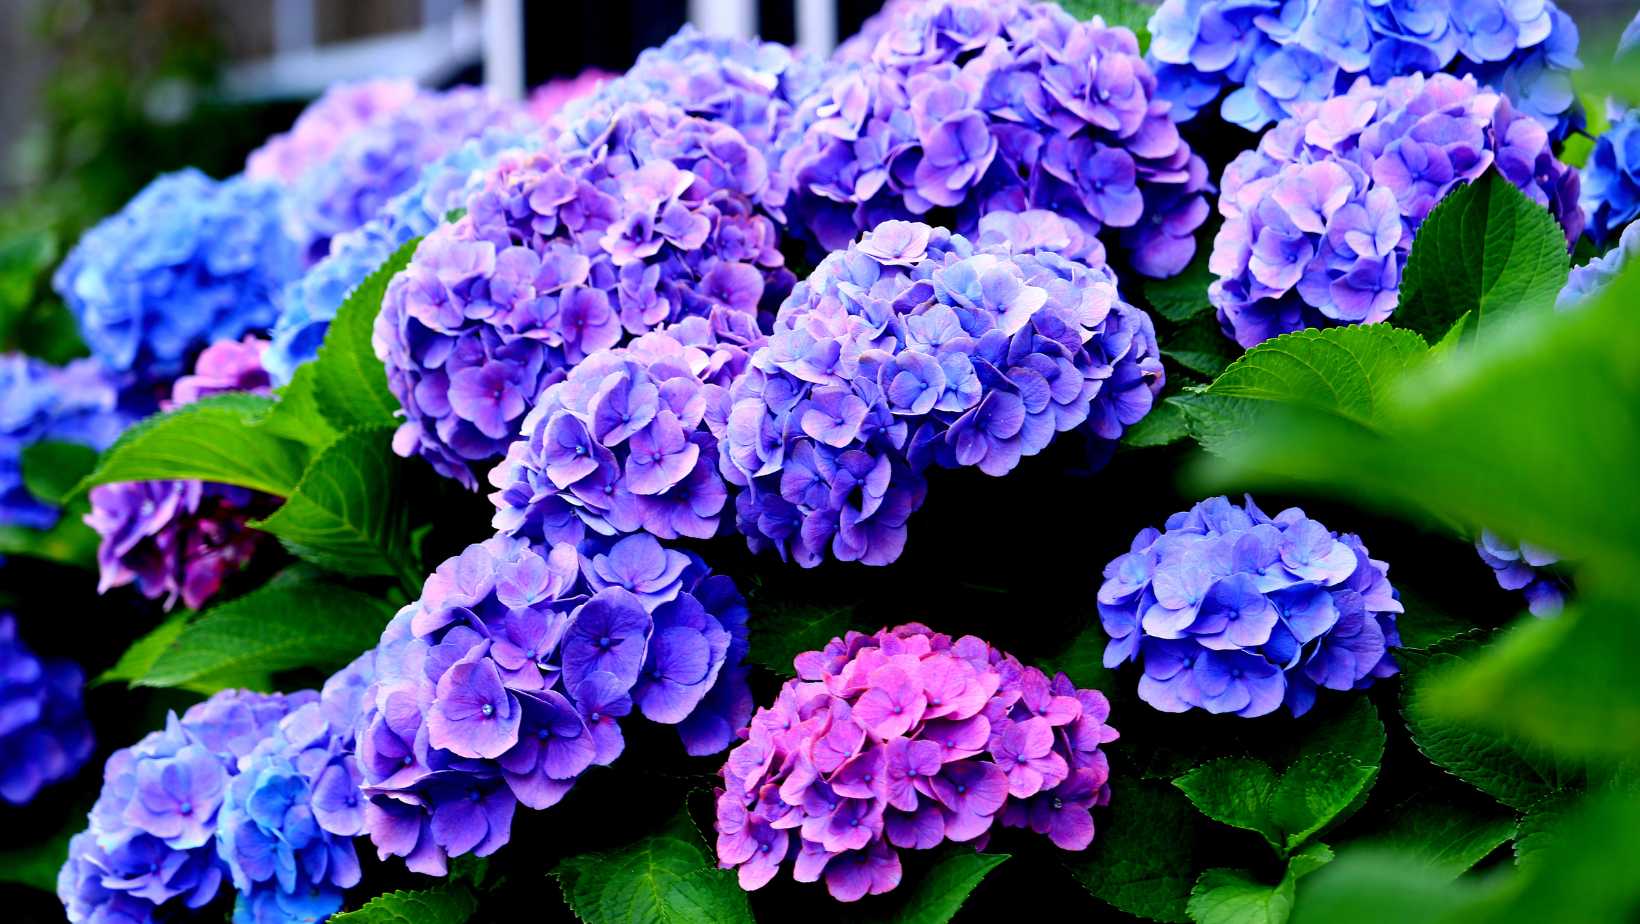
Prune Hydrangeas, beloved for their exquisite blossoms, have gained popularity as flowering shrubs. However, without proper pruning, these shrubs can become overgrown and exhibit diminished flower production. Engaging in the crucial task of pruning hydrangeas holds significant benefits, enhancing the plant’s well-being, fostering fresh growth, and stimulating abundant blooms. Nonetheless, it is essential to approach hydrangea pruning with care, as various hydrangea types necessitate distinct pruning techniques.
If you find yourself uncertain about the proper way to prune your hydrangeas, this article is here to assist you. Within this comprehensive guide, we will provide you with a step-by-step process for effectively pruning your hydrangeas. Our guidance encompasses helpful tips on identifying the specific type of hydrangea you possess and executing correct pruning techniques accordingly.
The right way to prune hydrangeas
Step 1: Determine the type of hydrangea you have
Pruning techniques vary depending on the specific type of hydrangea. Hydrangeas can be categorized into four main types: mophead (Hydrangea macrophylla), lacecap (Hydrangea macrophylla), panicle (Hydrangea paniculata), and smooth (Hydrangea arborescens). Prior knowledge of your hydrangea’s type is crucial before undertaking pruning tasks, as it ensures that you avoid inadvertently removing buds or flowers that play a vital role in the plant’s growth.
Step 2: Identify dead, damaged or diseased wood
To enhance the plant’s overall health, it is advisable to utilize pruning shears to eliminate any dead, damaged, or diseased wood. This proactive measure contributes significantly to the plant’s well-being and vitality.
Step 3: Remove old wood (if necessary)
To promote new growth and maximize flower production in mophead and lacecap hydrangeas, it is recommended to prune out any old wood that is older than three years. By doing so, you create space for fresh growth and stimulate the emergence of more vibrant flowers. In the case of panicle hydrangeas, you have the flexibility to remove up to half of the previous year’s growth. This pruning approach encourages an abundance of blooms, allowing the plant to showcase its full potential.
Step 4: Cut back to healthy buds
When pruning, ensure to make the cut just above a healthy bud, leaving a minimum of two pairs of buds on each stem. This technique fosters the development of new growth and facilitates an increased number of flowers. Additionally, make the cut at a 45-degree angle, as it promotes proper healing and prevents water from accumulating on the cut surface. By following these guidelines, you optimize the pruning process for the hydrangeas’ benefit.
Step 5: Don’t over-prune
Exercise caution to avoid excessive pruning, as it can impede the plant’s growth and diminish its flower production. It is advisable to limit the removal of plant growth to approximately one-third of its total in a given year. By adhering to this prudent approach, you maintain a healthy balance that allows the hydrangea to flourish and showcase an abundant display of flowers.
Allow me to share some supplementary tips to assist you in pruning hydrangeas:
1. Timing: Understanding the specific timing for pruning your hydrangeas is crucial. Different hydrangea types have varying optimal pruning periods. Research and identify the appropriate time to prune your particular hydrangea species for optimal results.
2. Remove Weak Stems: During the pruning process, be sure to identify and remove any weak or spindly stems. This action promotes healthier growth and directs the plant’s energy towards stronger, more robust branches.
3. Clean and Sharpen Tools: Prior to pruning, ensure that your pruning tools are clean and properly sharpened. Clean tools help minimize the risk of spreading diseases, while sharp blades facilitate cleaner cuts and promote faster healing.
4. Consider Hydrangea Size: Take into account the mature size of your hydrangea when pruning. If your hydrangea tends to grow larger, leave ample space between branches to prevent overcrowding and promote air circulation.
5. Observe Flowering Patterns: Familiarize yourself with your hydrangea’s flowering patterns. Some hydrangeas bloom on new wood, while others bloom on old wood. Understanding this distinction will guide you in deciding the appropriate pruning approach.
Remember, careful pruning practices contribute to the overall health, growth, and abundant flowering of your hydrangeas.
Nature Calls With Nature Portraits


A Taste of 2023 – Hibiscus
This popular ingredient gives a whole new meaning to flower power.
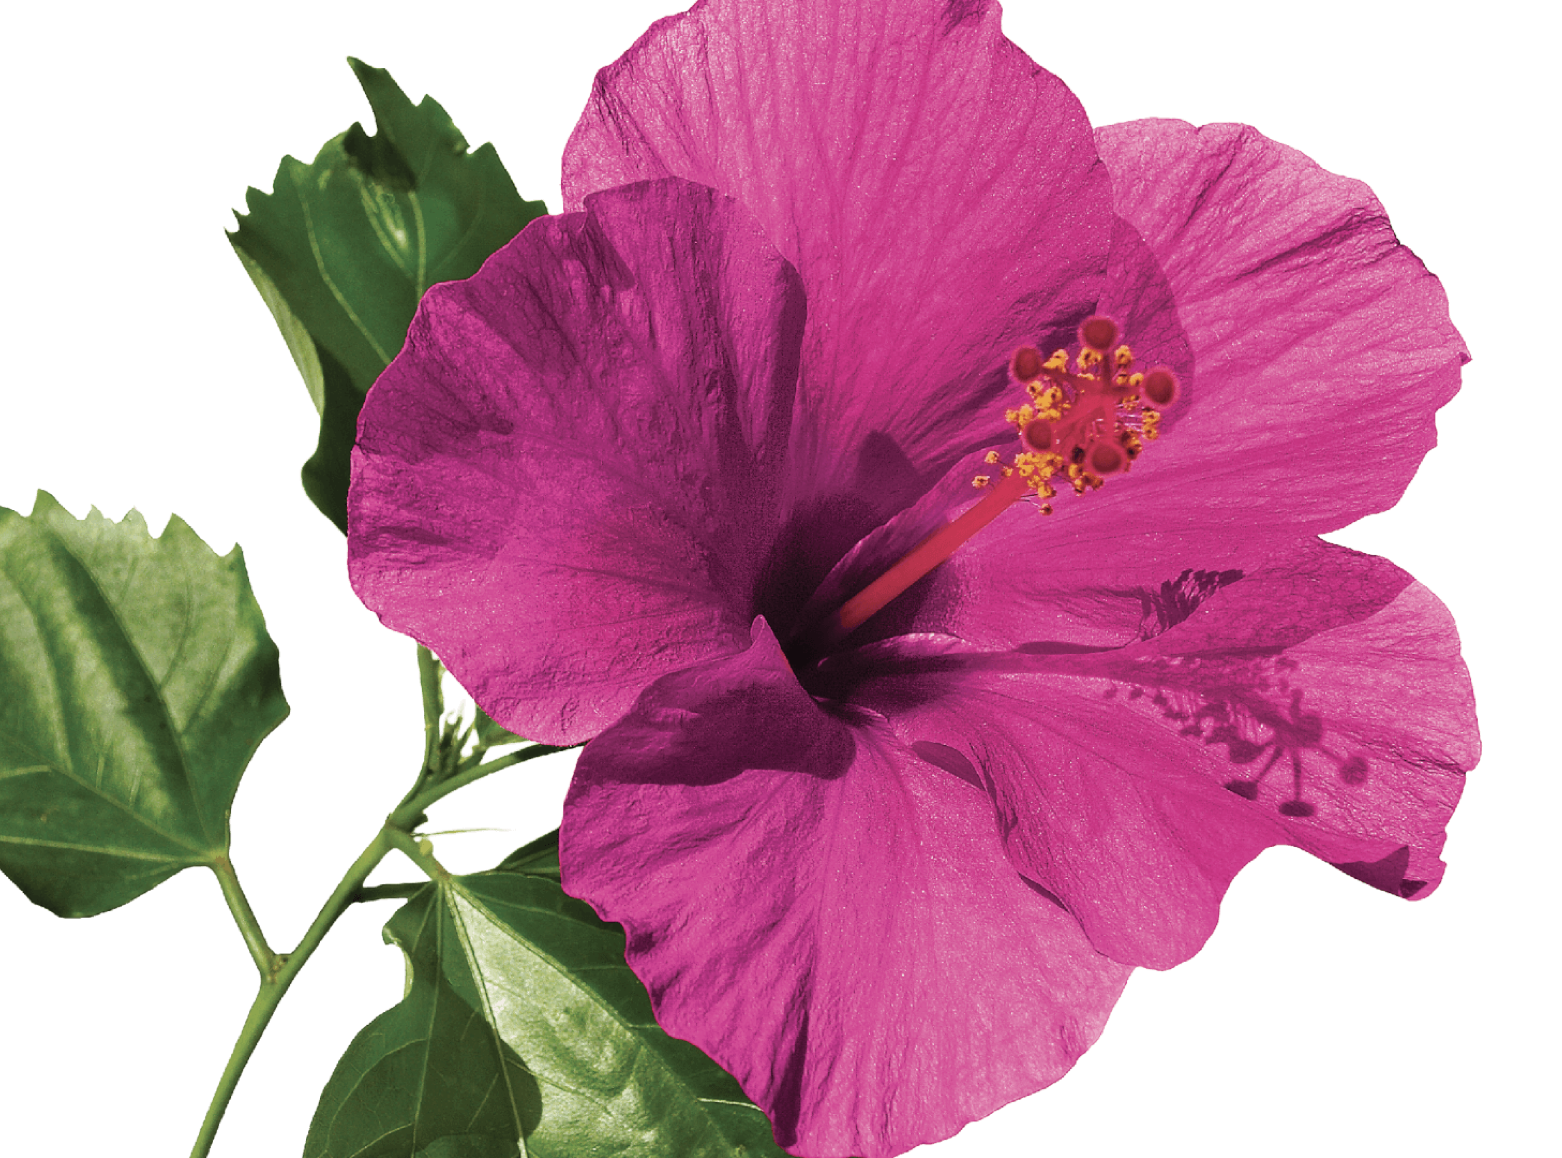
Everyone is looking for bigger, bolder flavors, and hibiscus delivers: The electric pink flower is boldly floral and unmistakably tangy, and we’ve all become obsessed. “The taste is a showstopper—like the fabulous dress at a party everyone notices,” says Suzy Badaracco, president of food trend forecaster Culinary Tides, Inc. While the tart, citrusy flowers have been a popular ingredient in tea and cocktails forages,Google searches for hibiscus drinks have doubled in the past year, and chefs are adding the flavor to everything from appetizers to desserts: Hibiscus mentions on restaurant menus have risen 24 percent over the past few years. You’ll also find it all over the grocery store—in yogurt, goat cheese, sparkling water and sorbet, to name a few. Bonus: It’s full of vitamin C and other antioxidants. Taste it for yourself in one of these pretty pink recipe — Carol Lee
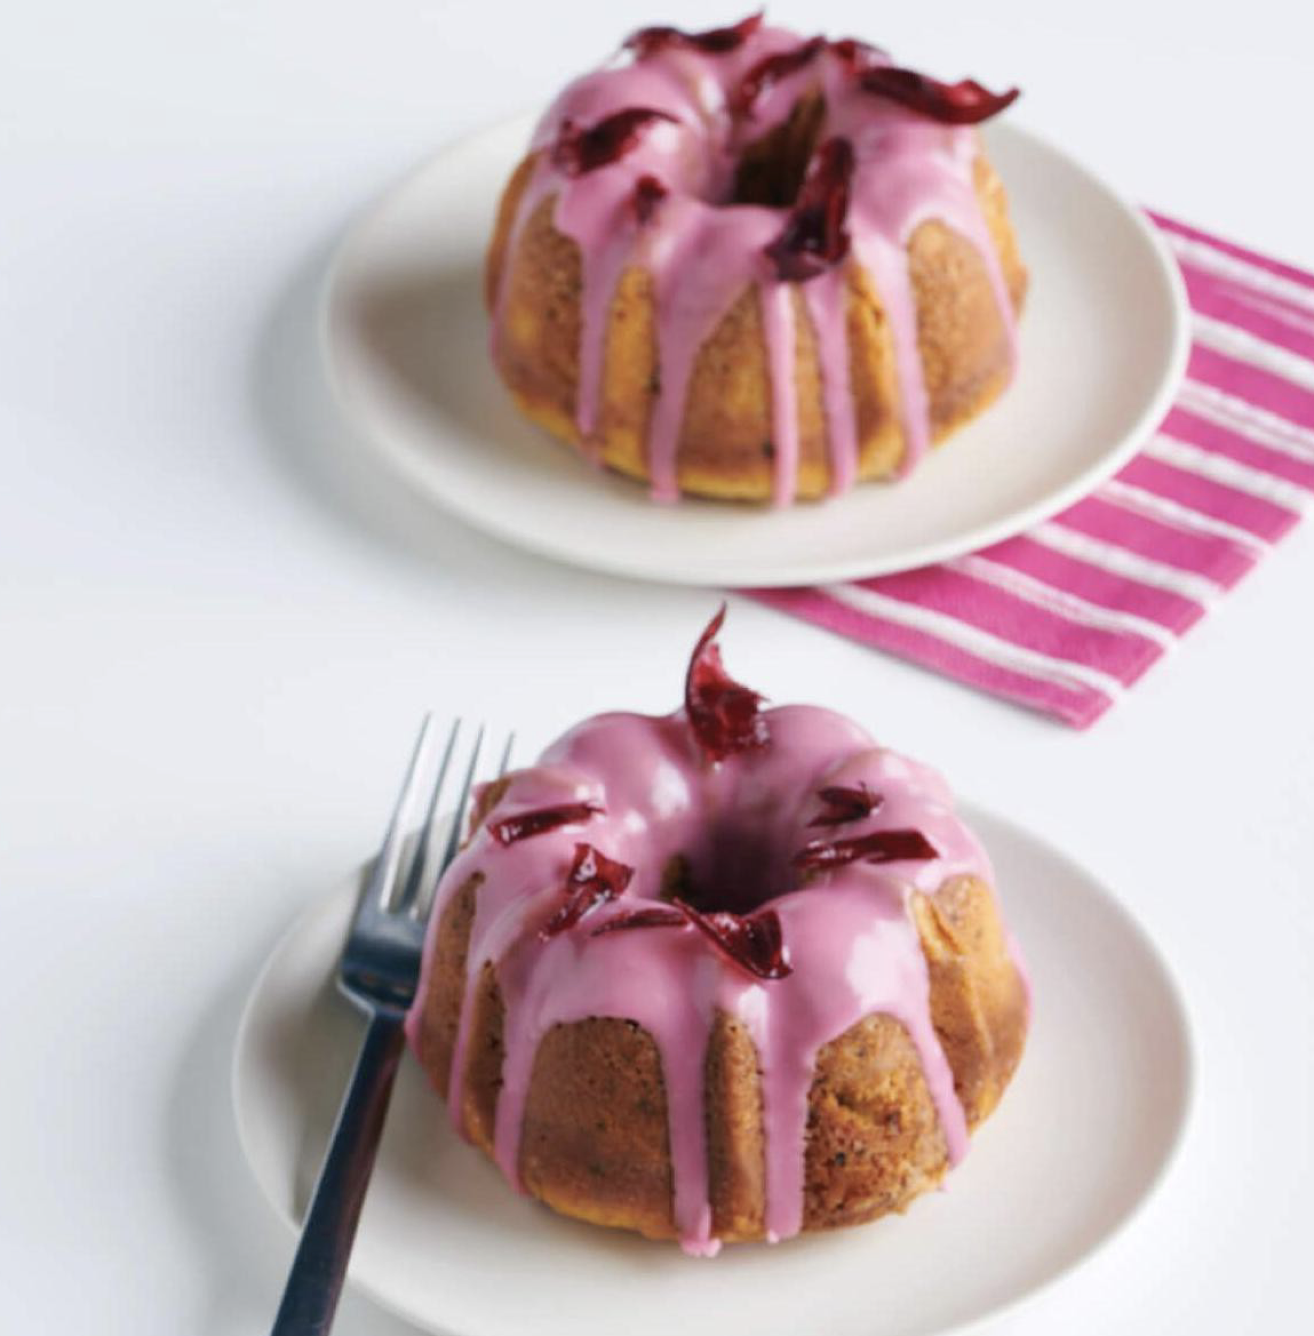
HIBISCUS-LEMON MINI BUNDT CAKES
ACTIVE 45 min l TOTAL: 2 hr l MAKES: 6
1½ cups all-purpose flour, plus more for dusting
1 teaspoon baking powder
½ teaspoon salt
1 cup granulated sugar
4 teaspoons lemon-hibiscus tea leaves (from about 4 tea bags), crumbled with your fingers
1 tablespoon finely grated lemon zest, plus 2 tablespoons lemon juice (from about 1 large lemon)
1¼ sticks (10 tablespoons) unsalted butter, at room temperature
2 large eggs
2 teaspoons pure vanilla extract
¾ cup sour cream
Cooking spray
2 cups confectioners’ sugar
Jarred hibiscus flowers in syrup, chopped, for topping, plus 2 tablespoons syrup
1. Preheat the oven to 350°. Whisk the flour, baking powder and salt in a medium bowl. Beat the granulated sugar, crumbled tea leaves and lemon zest in a large bowl with a mixer on medium-high speed until well combined, about 1 minute. Add the butter and beat, scraping down the bowl, until light and creamy, 3 to 5 minutes. Beat in the eggs one at a time until combined, then beat in the vanilla. Reduce the mixer speed to low and beat in the flour mixture in 3 batches, alternating with the sour cream. Increase the speed to medium high and beat until smooth.
2. Spray a 6-cup mini bundt pan generously with cooking spray and dust with flour, shaking out any excess. Evenly divide the batter among the cups, filling each about two-thirds of the way. Bake until the cakes are golden on top and spring back when gently pressed, 27 to 32 minutes. Transfer the pan to a rack and let the cakes cool about 10 minutes, then remove the cakes to the rack to cool completely.
3. Meanwhile, whisk the confectioners’ sugar, lemon juice and hibiscus syrup in a medium bowl until smooth and spreadable. (The glaze should be thick; if it’s too stiff, thin with a few drops of water.) Spoon the glaze over the cakes, letting it drip down the sides. Top with some chopped hibiscus flowers. Let set, at least 20 minutes.

HIBISCUS-GINGER ICE CREAM FLOAT
ACTIVE: 25 min l TOTAL: 1 hr 25 min l MAKES: 1 drink (plus extra syrup)
1. Make the syrup: Combine the hibiscus, sugar, ginger and 1 cup water in a medium saucepan. Bring to a simmer over medium heat, stirring to dissolve the sugar, and cook for about 1 minute.Remove from the heat and let cool, then refrigerate until cold, at least 1 hour.
2. Strain the syrup through a fine-mesh sieve into a liquid measuring cup or storage container; discard the solids. (The syrup will keep for 2 to 3 weeks in a sealed container in the refrigerator.)
3. Make the float: Add the ice cream to a tall glass. Pour 3 tablespoons of the hibiscus syrup over the ice cream. Slowly pour in the seltzer, giving the foam a few seconds to subside.
READ FULL
Fall Flowers Are Coming

It’s time to change out summer container gardens for a fall flowers look now that the days are growing shorter and temperatures cooling. Discover a dozen perfect plants for fall.

Chrysanthemum
Beautiful mums create a cushion of color in festive seasonal shades of red, orange, yellow, peach, and white, as well as contrasting shades of pink. Because of their popularity, you can find these fall flowers in a wide variety of sizes. Look for dainty mini-mums in tiny 2-inch-wide pots (perfect for table décor) or giants that can grow a couple of feet across.
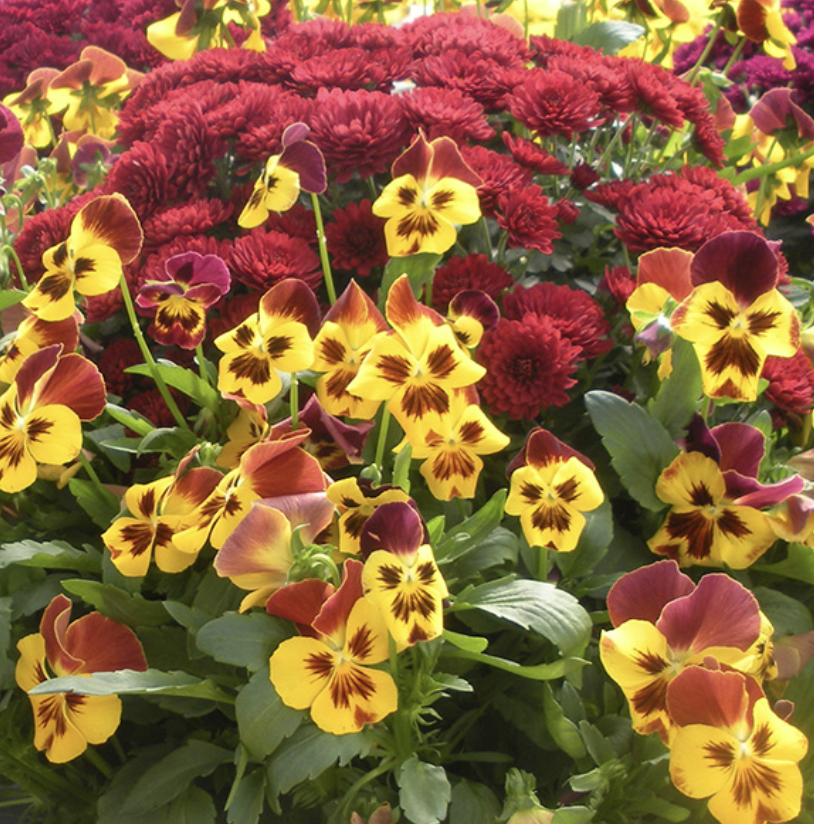
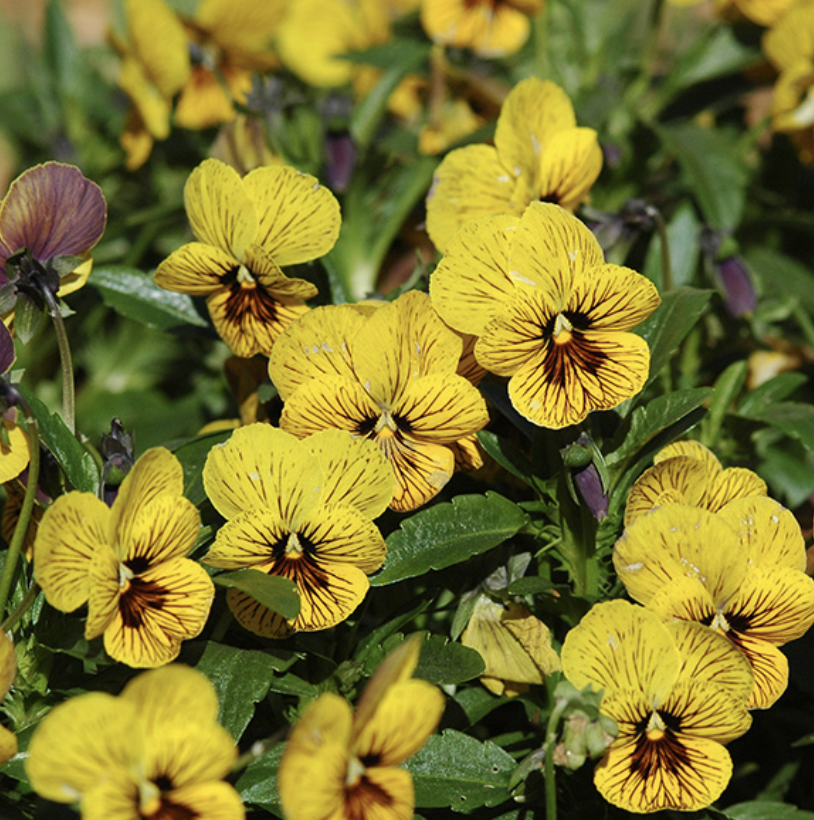
Pansy
Pretty pansies provide lovely cool-season color in just about every shade of the rainbow. Wonderfully versatile and heavy blooming, pansies are perhaps the perfect fall flower. Old-fashioned varieties grow in tidy mounds. Look for new varieties, too, that trail and are ideal as groundcovers or hanging baskets.
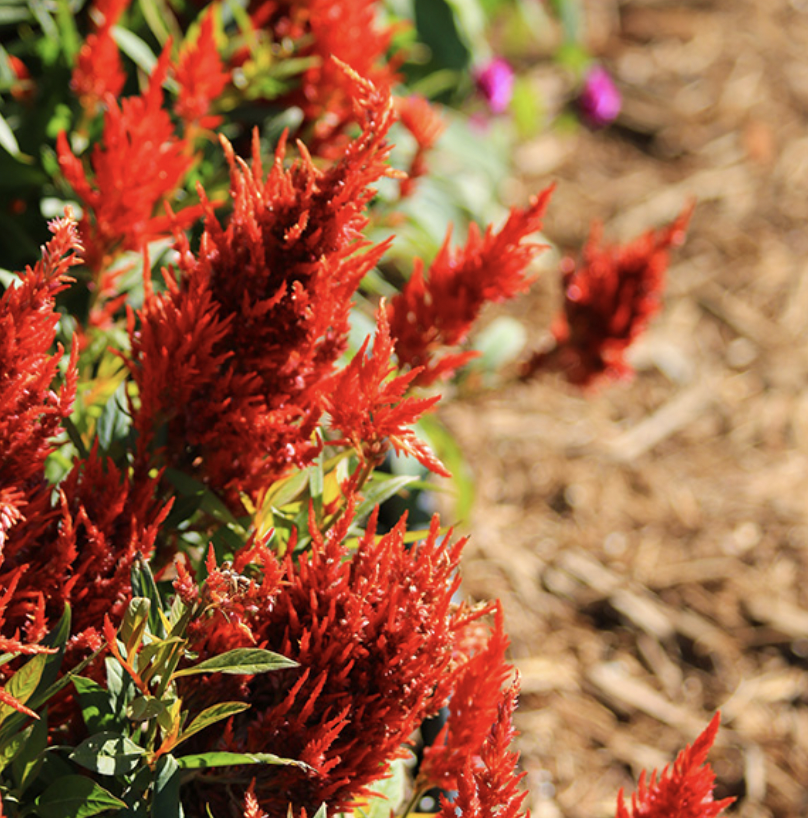
Celosia
Durable and easy-care celosia is a natural for fall because many varieties appear in the traditional color palette. Celosia provides bright yellow, warm orange, scarlet red, and deep burgundy purple accents to your container gardens. And don’t forget to add celosia to your landscape beds and borders. Plus, the flame-like plumes of bloom add fun vertical texture to other fall flowers.

Croton
Croton is ideal for autumn. A houseplant in cold-weather regions (or a shrub in frost-free areas), it also grows well as an annual. Enjoy its flamboyant foliage in rich shades of red, orange, yellow, and purple. Look for different varieties to find the perfect croton for your fall plantings.
Viola
Violas are cute and charming smaller cousins of pansies. They offer a multitude of flowers in just about every color. Because the blooms are daintier, they hold up better to rain and other weather. Violas come in a wider color range than pansies, making them among the most versatile fall flowers.
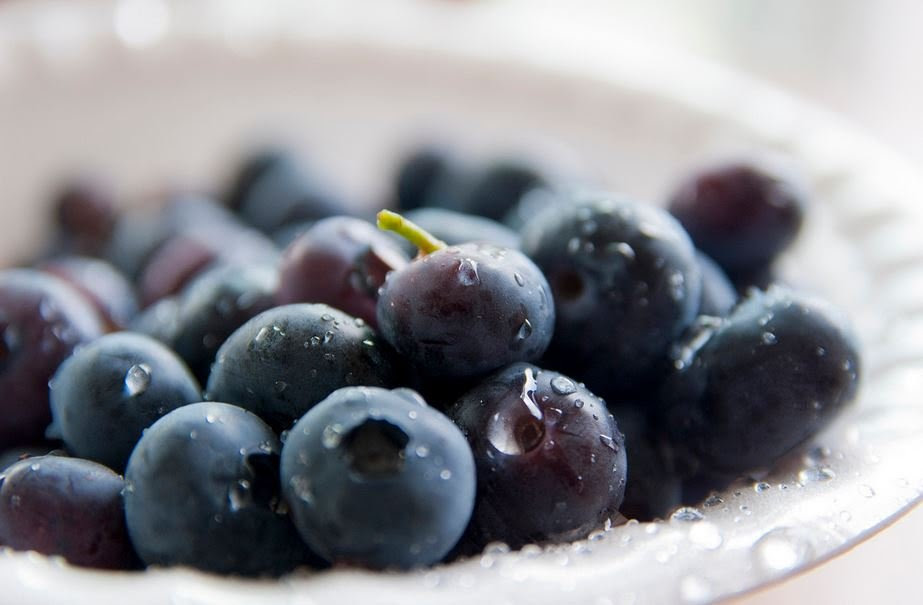
Healthy Growth For Planting Blueberries
Soil Needs
We recommend that you have your soil tested when planting blueberries. For healthy growth, blueberries do best in soil with a pH of 4.5 to 5.5. Consult your local Cooperative Extension Service for a soil test and advice on how to change your soil pH, if necessary.
You can also test soil pH yourself using a pH Test Kit. To lower soil pH, you can either apply a fertilizer that’s formulated for azaleas, hollies and other acid-loving shrubs, or an elemental sulfur.
If needed, lower the pH of your soil more gradually by digging in lots of peat moss and pine needles. It may take a year or more to see a change. Once the soil is acidic enough, you can plant blueberries and maintain soil acidity by mulching heavily every year with pine needles and shredded oak leaves.
<2>Planting
If your blueberry plants arrive bareroot, don’t expose the roots to wind or sun before or during planting. If your ground is frozen, or for some other reason you are not ready to plant, soak the roots in a bucket of lukewarm water for up to 24 hours (no longer). You can then delay planting for a week or two if you keep the roots moist and in a dark, cool place where the temperature is above freezing (35 to 40 degrees F).
If the weather is warm, it is best to plant immediately. Do not store a dormant bareroot plant in a warm place — such as in your house — for more than a week or so. Plants stored under warm conditions are much more likely to be damaged by cold spring weather.
Space the plants in increments that will accommodate the size of the mature plant. Dig a hole that is twice as wide and deep as the diameter of the root system. The plants should be set into the planting hole at the same depth they were growing in the nursery. You should be able to see a soil line around the stem which will indicate how deep it was.
Spread the roots and position each plant so that all the roots will be covered with soil. Be careful not to plant too deep, and do not let the roots dry out during the planting process.
Take any peat moss that is packaged with the plant and mix it into the planting hole. Add more of your own peat moss in heavier soils. If you use peat moss or a planting mix that contains peat, make sure that it is saturated with water before putting it in the planting hole. Peat that is not saturated can wick moisture away from the plant and cause the roots to dry out. Pack the soil firmly around the roots and water thoroughly.
Watering
Plants should be watered weekly during the first year, unless they receive plenty of rain.
Fertilizing
Wait four to six weeks after planting before adding any fertilizer. Do not apply fertilizer in late summer or fall. This could stimulate new succulent growth that could become injured during winter.
Use a balanced fertilizer, such as All-Purpose Fertilizer. This slow-release fertilizer contains sulfate of potash (potassium sulfate), which is good for blueberries. Do not use fertilizer that contains potassium chloride, which can adversely affect blueberries.
Yellow leaves on blueberries can be corrected with a foliar application of 1 tablespoon of iron chelate in a gallon of water sprayed over the leaves. You should see greener leaves in a few days. However, be aware that yellowing leaves may be a sign that the soil pH is too high. Have your soil tested for pH and amend it as needed.
After two to three years, you should should see 12-18″ of new growth per year. If not, check your soil pH and continue to amend the soil with compost and fertilizer as needed.
Flower Removal and Pruning
During the first year, it is important that your plants develop a strong root system and produce a lot of new shoots. Remove all flowers during the first year and do not allow any berries to develop. Do not prune your blueberry plants for two years.
After two years, prune annually in early spring, before leaves form. Remove weak or damaged branches and any branches less than 6″ long. Mature, thick branches in the center should be removed to improve air circulation and sun penetration. The goal is to have about 12 main stems per plant with a good mix of old and new. Any stems more than 2″ in diameter should be removed.
Mulch
Sawdust mulch is commonly spread along the entire row of blueberries with extra sawdust mounded around the canes, often to a depth of 8″ or more.
Bird Netting
The best way to protect fruit from being damaged or eaten by birds is to cover it with netting. Bird netting should be installed at least two to three weeks before the fruit matures.
The Flower Feeling
Fertilizer shortage could impact crop yields over the next year

Experts warn that poor consumers may be the hardest hit
Experts are warning that the dual energy and supply chain crises could serve to significantly disrupt global crop production, potentially disrupting food supplies for poorer consumers in particular.
Those ongoing crises are helping to temporarily decrease the global supply of fertilizer, a critical component in much of world agriculture and one that allows farmers to grow considerable quantities of crops in much of the world’s soils.
The fertilizer shortage is “impacting food prices all over the world and it hits the wallets of many people,” Yara International Director Svein Tore Holsether told the BBC this week.
“But for some people, especially in the developing world, this is not only a question about the wallet, but it’s a question of life or death.”
Fertilizer production depends in particular on natural gas, which has been in shorter supply over the past year due to a variety of supply and demand issues, many of them related to the pandemic.